
Last updated November 15, 2026
 Wrought iron
 Wood & steel frame
 Farm & ranch
 Sliding driveway gates
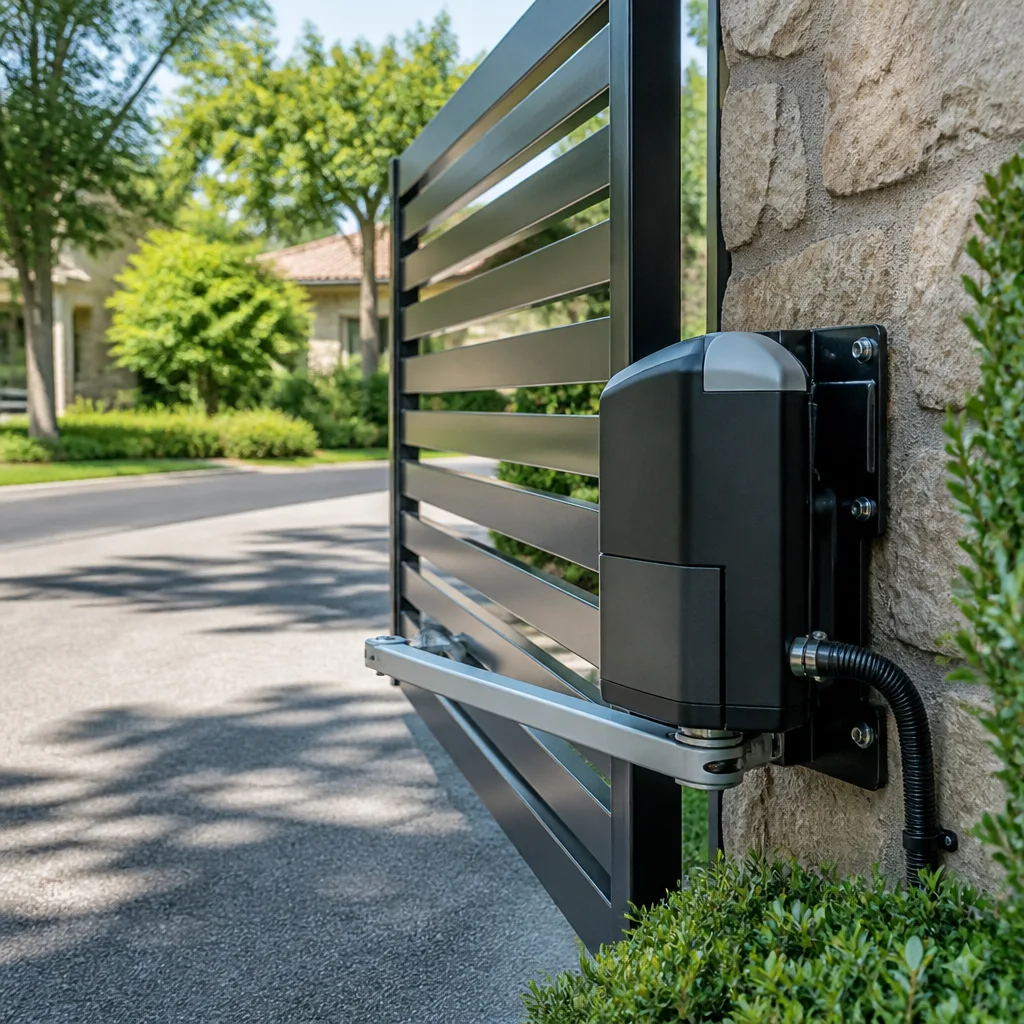 LiftMaster operators
Free on-site gate assessment - hinges, posts, and your LiftMaster or Nice gate operator checked before anything is quoted
The assessment is free and the quote is the invoice.
Get your free estimateGate Repair Troubleshooting in Paterson: Common Problems and How to Fix Them
A gate that reverses before it closes isn’t necessarily a motor problem. Most of the time it’s a misaligned safety sensor or an obstruction loop fault, and replacing the motor won’t fix it. That’s the single most expensive mistake we see property owners make: they replace the operator when the real fault was a bent bracket or a wet photocell. This guide walks you through a fault-tree approach to gate troubleshooting in Paterson, sorting electrical faults from mechanical ones before you touch anything. You’ll learn how to read operator error codes, how freeze-thaw cycles shift posts, and when a fault is genuinely a board failure versus a wiring issue. Paterson property owners can use this to diagnose their own gate before deciding whether to repair or call.
Quick Answer
Gate problems in Paterson usually trace back to one of five root causes: power or wiring faults, control board or operator failures, safety sensor faults, mechanical issues like hinges and tracks, or post shift from freeze-thaw cycles. The fastest way to fix a gate is to separate electrical faults from mechanical ones before touching anything. A gate that won’t move at all usually points to power or board failure; a gate that moves slowly or inconsistently points to mechanical bind or a failing motor. Reading the operator’s error code or indicator LEDs tells you which. Most residential gate repairs can be diagnosed on-site in 30-60 minutes with the right approach.
Styles & brands we work with
- Wrought iron
- Wood & steel frame
- Farm & ranch
- Sliding driveway gates
- LiftMaster operators
Table of Contents
- How Does the Fault-Tree Framework Work for Gate Troubleshooting?
- How Do You Tell an Electrical Fault From a Mechanical Fault?
- How Do You Know if the Control Board Has Failed or It’s Just Wiring?
- Why Does a Gate Open Slowly vs. Not Open at All?
- How Do Paterson Freeze-Thaw Cycles Cause Post Shift?
- How Do You Diagnose Safety Sensor and Loop Faults?
- When Is a DIY Reset Safe and When Does It Cause Harm?
- Common Mistakes to Avoid
- When to Call a Professional
- Frequently Asked Questions
How Does the Fault-Tree Framework Work for Gate Troubleshooting?
Gate troubleshooting works best as a fault tree, not a symptom list. Before you check anything electrical, confirm the mechanical components are free and clear. Before you check mechanical components, confirm the gate has power and the operator is receiving commands. The framework breaks into two major branches and five root causes. You start at the top, eliminate one branch, and move down.
The diagnostic sequence:
- Confirm power and command. Is the operator receiving voltage? Is the control board lit up? Is the remote or keypad transmitting?
- Check safety inputs. Are the photo-eye sensors aligned? Is the obstruction loop or edge sensor triggering a stop?
- Inspect for mechanical bind. Can the gate be moved by hand with the operator disengaged? Are the hinges, rollers, or track clear?
- Read board diagnostics. What error code or LED pattern is the operator showing?
- Test the motor and operator separately. If the board is sending the command and the motor isn’t moving, the issue is in the operator, not the board or wiring.
In our experience, roughly 40% of residential gate repair calls trace back to safety sensors or loop detectors, not the motor. The operator gets blamed because it’s the visible part. But a gate that reverses prematurely, cycles without a command, or opens partway and stops is almost never a motor issue. If you work through the fault tree in order, you cut diagnosis time in half and avoid replacing parts that were functioning all along.
Paterson gates face an additional stressor that complicates diagnosis: the area’s freeze-thaw cycles. A gate that binds in February but works fine in July isn’t showing a motor failure. It’s showing a post or track issue exposed by ground movement. The fault tree catches this when you reach the mechanical branch.
How Do You Tell an Electrical Fault From a Mechanical Fault?
Separate electrical from mechanical before you touch anything. The rule is simple: if the gate moves by hand when the operator is disengaged, the mechanics are sound and the fault is electrical. If it doesn’t, you’re chasing a mechanical problem first, regardless of what the operator says.
Electrical fault indicators:
- Operator has no power or won’t cycle at all
- Control board indicator LEDs are dark or flashing an error pattern
- Gate opens and reverses immediately without hitting anything
- Remote or keypad doesn’t transmit, but the manual override works
- Motor hums but doesn’t move (often a capacitor or board fault)
Mechanical fault indicators:
- Gate is hard to move by hand with power off
- Dragging, binding, or scraping sounds during travel
- Gate sags at the far end or drags on one side
- Hinges or rollers visibly worn or loose
- Slide gate comes off the track or the wheels hop
The single most valuable test you can run is to disengage the operator and move the gate manually. On most residential swing gates this is a release lever or key; on slide gates it’s a manual release chain or lever on the operator. If the gate swings free with minimal resistance, the electrical branch is your target. If it fights you, the mechanical branch is first. Don’t skip this step because it takes 30 seconds and saves you from replacing a control board that was never broken. When you move a slide gate by hand, watch the rollers and the track. A gate that jumps or grinds is a mechanical problem, and no amount of operator tuning will fix it.
How Do You Know if the Control Board Has Failed or It’s Just Wiring?
A failed control board is one of the easiest things to misdiagnose. The operator won’t respond, so the board gets blamed. But in our experience, most “dead board” calls turn out to be a loose wiring connection, a blown fuse, or a failed safety input. Before replacing a board, check the wiring and the fuse.
The diagnosis works in this order:
- Check the power supply. Confirm the operator is receiving correct voltage at the board terminals. A dropped leg on a 120V circuit or a low battery on a 12V/24V solar setup will mimic a dead board.
- Inspect the fuse. Most operators protect the board with an inline or board-mounted fuse. A blown fuse means the board may be fine and the downstream fault needs to be found first.
- Look at the indicator LEDs. Every major brand uses LEDs to signal board state. On LiftMaster operators, the diagnostic LED on the board flashes a code pattern that narrows the fault to power, sensor, or motor. A continuous solid LED usually means power is present and the board is communicating; a dark board with confirmed voltage usually means the board itself has failed.
- Check the safety input wiring at the board terminals. A shorted sensor wire or an open safety loop will cause the board to refuse to cycle. Disconnect the safety terminals one at a time to see if the board responds.
- Test the motor terminals. If the board is sending voltage to the motor terminals and the motor doesn’t move, the motor or capacitor is the fault, not the board.
Brand-specific failure points matter here. FAAC operators are known for tight wiring harnesses that can pull loose at the quick-connect terminals; a loose harness mimics a board failure and the board gets replaced when the connector was the problem. BFT boards often show sensor loop faults as a solid error state rather than a specific code, so isolating the loop first is essential. Viking commercial slide operators use a plug-in board design that makes swaps straightforward, but only after you’ve ruled out the power supply and the motor capacitor.
If you’re not confident in reading the LED patterns and error codes on your specific operator brand, call a technician who is. Gate Repair Paterson works on the major brands specifically, including electric gate repair, and the diagnostic shortcut is real: reading a code correctly the first time avoids a parts swap that doesn’t fix the problem.
Why Does a Gate Open Slowly vs. Not Open at All?
A gate that opens slowly and a gate that won’t open at all point to completely different repair paths. The first is almost always mechanical or motor-related; the second is almost always electrical or command-related.
Gate opens slowly:
- Motor is under load because of mechanical bind in hinges, rollers, or track
- Motor capacitor is failing (operator still runs but with reduced torque)
- Slide gate rollers are worn and the gate is dragging on the track
- Swing gate hinges are dry, seized, or misaligned and the gate is fighting gravity
- Operator speed setting has been changed or a speed fault code is active
Gate won’t open at all:
- No power to the operator
- Control board has failed or is in a fault-lock state
- Safety sensor or obstruction loop is preventing any cycle
- Remote, keypad, or access control isn’t transmitting
- Manual release is engaged
The repair path for “opens slowly” is almost always mechanical or motor. The repair path for “won’t open” begins at the board and works through the command and safety chain. When a customer tells us the gate “opens slowly,” we check hinge bind and motor capacitor in the first 10 minutes. When they say “won’t open,” we check power and safety inputs first. Getting this distinction right at the start is half the repair. It’s also why a technician who works on gates only can move faster than a general repair service: the fault-tree branches are already internalized, and the diagnostic path is short. A slow gate should never be run for long at speed, because a binding gate is eating the motor and the operator will eventually fail outright. Diagnose it early.
How Do Paterson Freeze-Thaw Cycles Cause Post Shift?
Paterson’s winters bring repeated freeze-thaw cycles, and that cycle does specific damage to gate hardware. Water gets into the soil around the post or into the gate’s mounting hardware, freezes, expands, and then thaws. The cycle repeats and the post eventually shifts. A gate hung on a shifted post doesn’t swing true, and that bind gets blamed on the hinges or the motor.
Signs of freeze-thaw post shift:
- Gate sags at the far end during the winter and recovers in warmer weather
- Hinges look fine but the gate drags in one position
- Gate is harder to latch in February than in July
- Concrete around the post is cracked, heaved, or separated from the post
- Visual lean or tilt in the post, usually found by eye not by a level
Testing for post shift without a surveyor is straightforward. Close the gate fully and check the reveal gap at the latch side at the top, middle, and bottom. If the gap changes from top to bottom, the gate is out of square. Open the gate 90 degrees and check whether the top hinge stays aligned with the bottom hinge along the post face. If the gate swings itself open or closed on its own from rest, the post is leaning. That self-swinging behavior is the classic sign, and it’s easy to see in a 10-second test. A post that has shifted will need to be reset or replaced before hinge adjustment or motor repair will fix anything, because a binding gate on a leaning post will destroy the operator over time.
How Do You Diagnose Safety Sensor and Loop Faults?
The safety sensor and obstruction loop faults are the most misdiagnosed gate problems we see. A gate that reverses mid-cycle, cycles and stops, or refuses to close usually has a sensor or loop fault, not an operator fault. Replacing the motor when the photo-eye is misaligned will not fix the gate.
Diagnosing photo-eye safety sensors:
- Check alignment. Both sensors should face each other at the same height. If one is knocked out of alignment, the beam breaks and the gate treats it as an obstruction. Realign and tighten the bracket.
- Check the LED indicator on the receiving sensor. Most photo-eye sensors have a status LED. A solid LED means the beam is received; a blinking or dark LED means the beam is broken or the sensor is unpowered.
- Check for dirt, condensation, or ice. A wet or frosted lens breaks the beam without a physical fault. A wipe and a warm day are the fix.
- Check the wiring at the sensor terminal. A wire that pulled out of the sensor head is common when the gate is bumped.
Diagnosing obstruction loops (typically on slide gates and driveway entries):
- Check the loop detector board for a fault LED. A loop that shows a continuous detection means the loop wire is shorted, cut, or the loop detector sensitivity needs adjustment.
- Confirm the loop detector is not reporting a false detection from a nearby vehicle or metal object.
- Check the loop wiring in the saw-cut and where it meets the operator. A cut loop wire is a common failure and can’t be repaired by resetting the operator.
Photo-eye and loop faults are the first thing to check when a gate reverses before closing. That’s the single most important sentence in this guide, because it’s the repair path most often wrong. A misaligned sensor is cheap and quick to fix. A replaced motor is neither. If the sensors look aligned and the gate still reverses, the loop or the board is the next check. If you’re not sure, have a technician confirm the safety chain before you order any parts.
When Is a DIY Reset Safe and When Does It Cause Harm?
Some gate repairs are safe to attempt yourself. Others void the operator warranty, risk personal injury, or make the underlying fault worse. The dividing line is clear: anything that involves the operator’s internal wiring, the safety chain, or high-voltage power is a job for a technician.
Safe to attempt yourself:
- Cleaning photo-eye sensors and checking alignment
- Clearing an obstruction from the gate path
- Checking the manual release and using it to disengage the gate
- Replacing a remote battery or re-pairing a remote
- Clearing debris from a slide gate track
- Resetting the operator after a known power outage, if the manual documents the reset procedure
Not safe to attempt yourself:
- Any work inside the operator housing, including board swaps or fuse replacement on a live circuit
- Rewiring safety sensors, loop detectors, or access control
- Adjusting limit switches on a commercial operator
- Repairing or replacing a loop cut into the driveway
- Repairing heavy slide gate panels or hardware that can crush
- Anything that touches the 120V supply circuit
Operator wiring carries mains voltage and the heavy gate panel itself is the primary hazard: a slide gate that comes off the track can crush, and a swing gate on a failing hinge can fall. That’s not a job to learn on. If the operator fault code isn’t in the manual or you can’t confirm what it means, stop and call a professional. A technician trained on the specific brand knows the failure points and can diagnose within minutes. DIY attempts on the board or the safety chain often void the operator warranty and can leave the gate in a state that costs more to repair than the original problem. The rule we give every customer: if your hand is reaching inside the operator housing or the safety wiring, that’s the stop line.
Common Mistakes to Avoid
- Replacing the motor when the safety sensor is the fault. This is the classic misdiagnosis. If the gate reverses before closing, check the photo-eye alignment and the loop detector first. A motor swap won’t fix a misaligned bracket and you’ll still have the same symptom.
- Ignoring a slow gate until it fails outright. A gate that opens slowly is already binding or losing motor torque. Waiting until the operator fails means a bigger repair, often a motor or board replacement instead of a hinge or capacitor fix.
- Assuming the board is dead without checking the fuse and wiring. A blown fuse or a pulled connector reads as a dead board. Two minutes of inspection can save a parts swap that wasn’t needed.
- Skipping the manual-release test. Disengaging the operator and moving the gate by hand is the single fastest way to separate electrical faults from mechanical ones. Skipping this step is the reason diagnoses drag.
- Adjusting limits on a commercial operator without the manual. Limit adjustments on high-cycle commercial operators are brand-specific and a wrong setting can damage the operator. On residential operators, the manual is the only reference worth using.
- Ignoring winter post shift. A gate that drags during Paterson’s freeze-thaw season and recovers in summer is showing post movement. Treating it as a hinge or motor issue repeatedly will cost more over a couple of seasons than fixing the post.
- Letting a general handyman or a garage-door company work on the gate. Gate operators, loop detectors, and access control are specialist systems. The brand-specific error codes and safety chain are where general repair services routinely get it wrong.
When to Call a Professional
Call a professional when the gate is not moving at all, when the operator is showing an error code you can’t identify, when the safety sensors or loop detector are involved, when the post or track shows shift or damage, or when a heavy slide gate is off the track or hanging. Any fault inside the operator housing, any rewiring, and any high-voltage circuit work should be handled by a technician. If you’ve worked through the fault tree and cleared the mechanical branch but the gate still won’t function, the fault is in the electrical chain and gets diagnosed properly by a tech. Gate Repair Paterson offers free estimates in Paterson. Call (833) 946-4320. We answer 24/7. Fast dispatch from 7am to 7pm, Sunday through Friday. Our technicians have up to 13 years of experience, and gates are all we do.
Frequently Asked Questions
A gate that reverses before closing in Paterson is usually triggered by a misaligned photo-eye safety sensor or an obstruction loop fault, not a motor problem. Check the sensor alignment and the receiving sensor’s LED first. If the sensors are aligned and the gate still reverses, the loop detector or the control board is the next check. Call (833) 946-4320 for a free estimate if the fault isn’t obvious after the sensor check.
A control board has failed if the operator has confirmed power at the board terminals and the diagnostic LED is dark or showing an unrecoverable fault state. Confirm the fuse isn’t blown and the safety input wiring is intact before concluding the board is dead. On LiftMaster and FAAC boards, a dark LED with confirmed voltage points to a board replacement; a flashing pattern points to a specific fault code that may not involve the board at all.
Yes. Paterson’s freeze-thaw cycles move soil around the post and shift the post over time, and that shift causes the gate to bind and drag. Test for it by closing the gate fully and checking the reveal gap at top, middle, and bottom of the latch side. If the gap changes from top to bottom, the post has shifted. A gate that also swings itself open or closed from rest confirms a lean.
A gate that won’t open has an electrical or command fault: no power, a failed board, a tripped safety sensor, or an inactive remote. A gate that opens slowly has a mechanical or motor fault: binding hinges, worn rollers, a failing capacitor, or track damage. The repair paths are completely different, which is why the distinction matters from the first minute of diagnosis.
Resetting the operator after a known power outage is safe if the reset procedure is in the manual. Anything inside the operator housing, any rewiring, and any adjustment to the safety chain or limits is a job for a technician. Attempting board work or safety rewiring yourself can void the warranty and leaves the gate in a state that’s more expensive to repair. If the fault code isn’t in the manual, call (833) 946-4320.
Yes, especially for automated gates. General repair services and garage-door companies routinely turn away control board, loop detector, and access control work, and a wrong diagnosis on a gate operator wastes time and money. A specialist who works on brands like Mighty Mule, LiftMaster, FAAC, and BFT knows the specific failure points and the programming sequences. See our gate repair page for the full scope of what’s covered, and call (833) 946-4320 for a free estimate.
The Bottom Line
Most gate failures come down to one of five root causes: power or wiring, control board, safety sensor, mechanical bind, or post shift. The fault tree is the shortcut: separate electrical from mechanical before you touch anything, read the operator’s error codes on the specific brand, and check the safety sensors first when the gate reverses before closing. Paterson’s freeze-thaw cycles add post shift to the list, and a slow gate should never be ignored because it’s already costing you motor life. When the fault involves the board, the safety chain, or high-voltage wiring, stop and call a technician. Gate Repair Paterson is your specialist resource for Gate Repair Paterson, and we’ve built the guide around the fault tree we use on every job. Call (833) 946-4320. We answer 24/7. Fast dispatch from 7am to 7pm, Sunday through Friday. Get your gate moving again today.
Written by the team at Gate Repair Paterson.
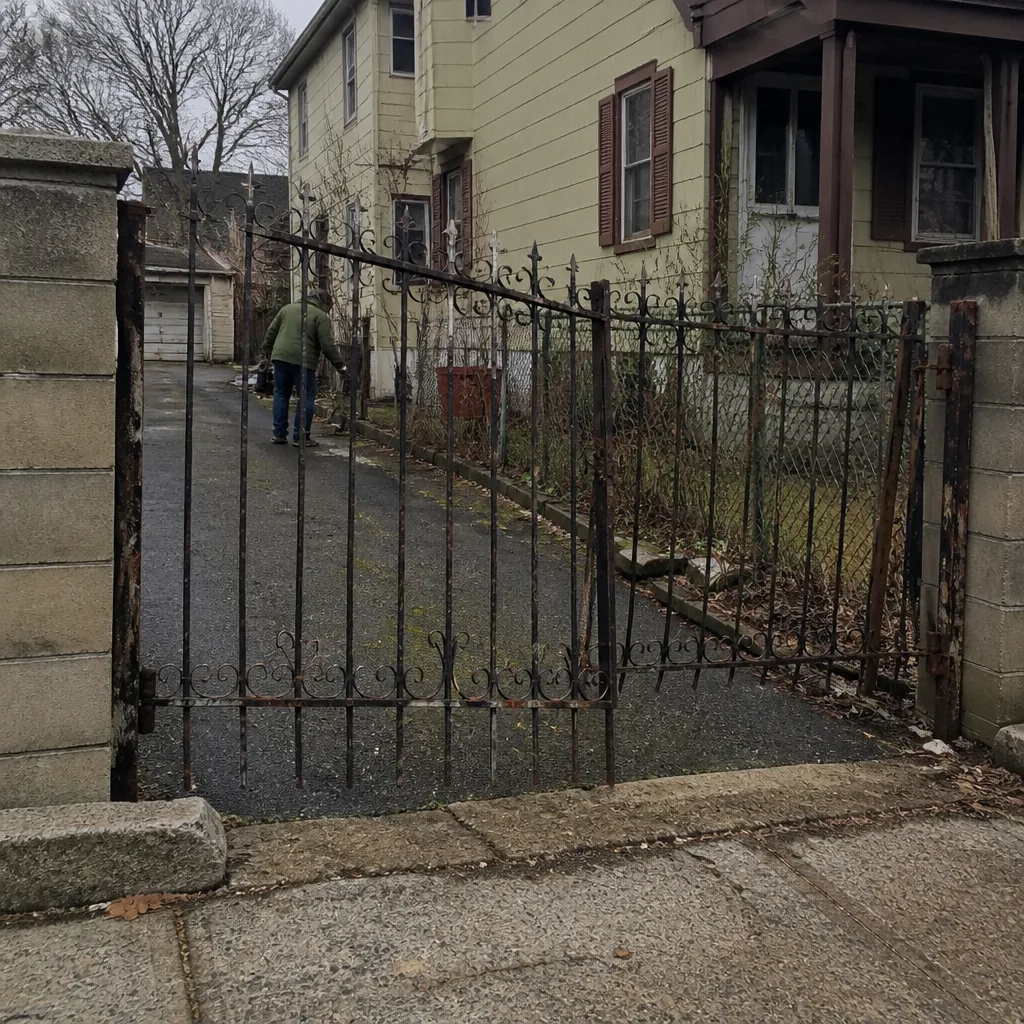
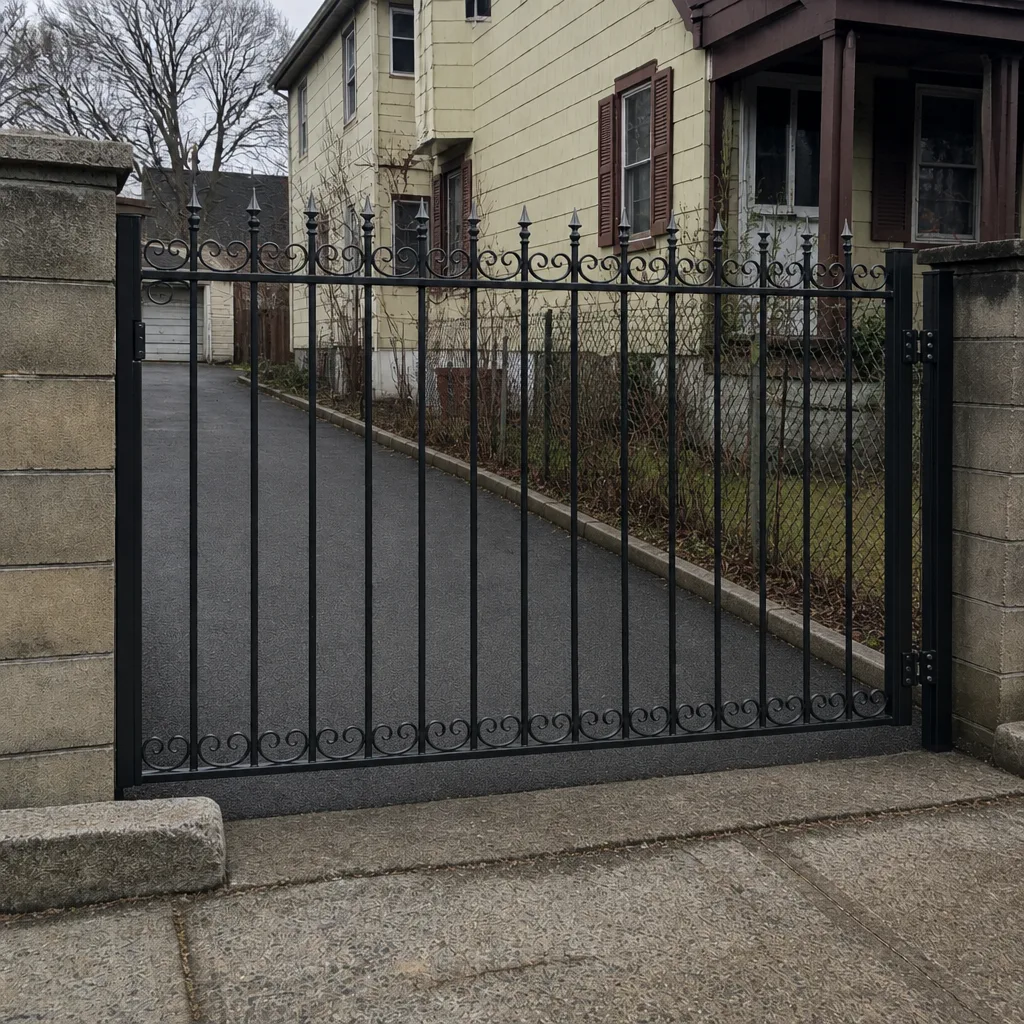
See the difference
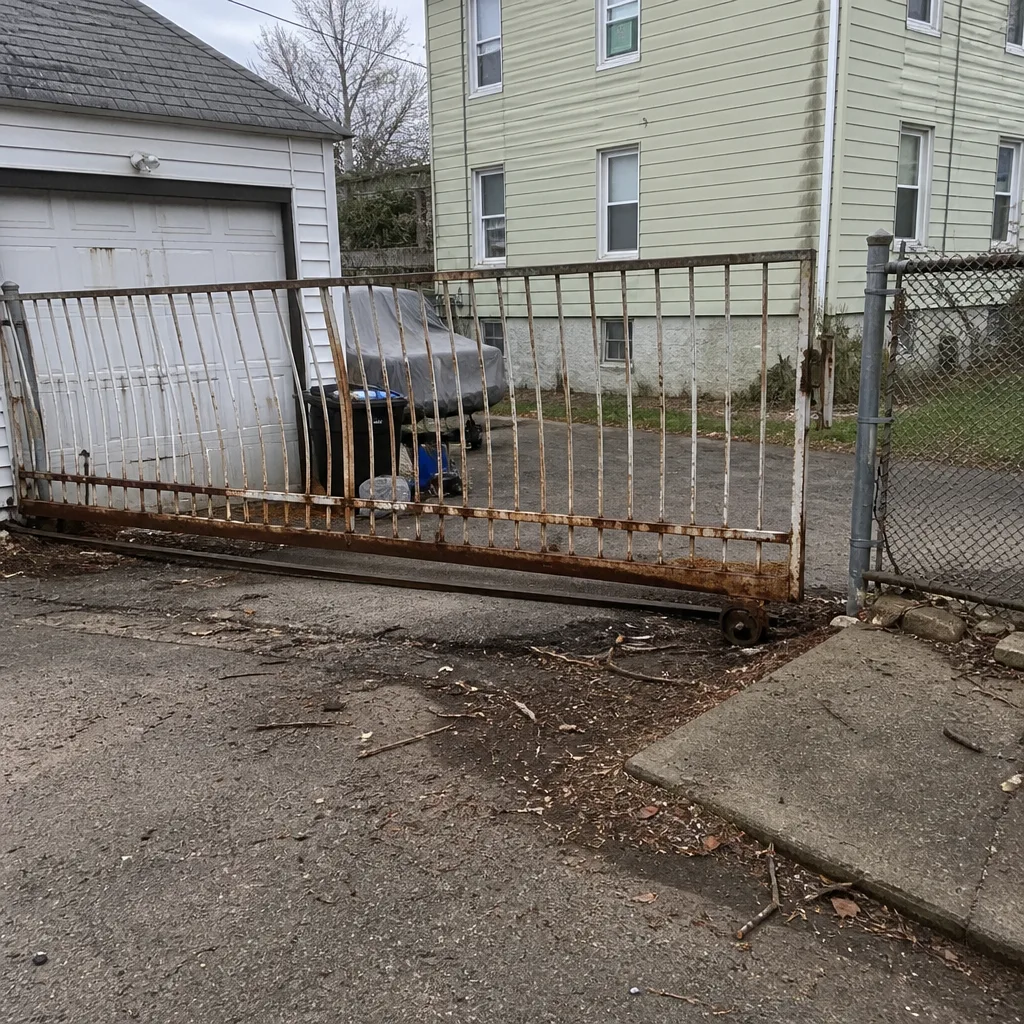 Before
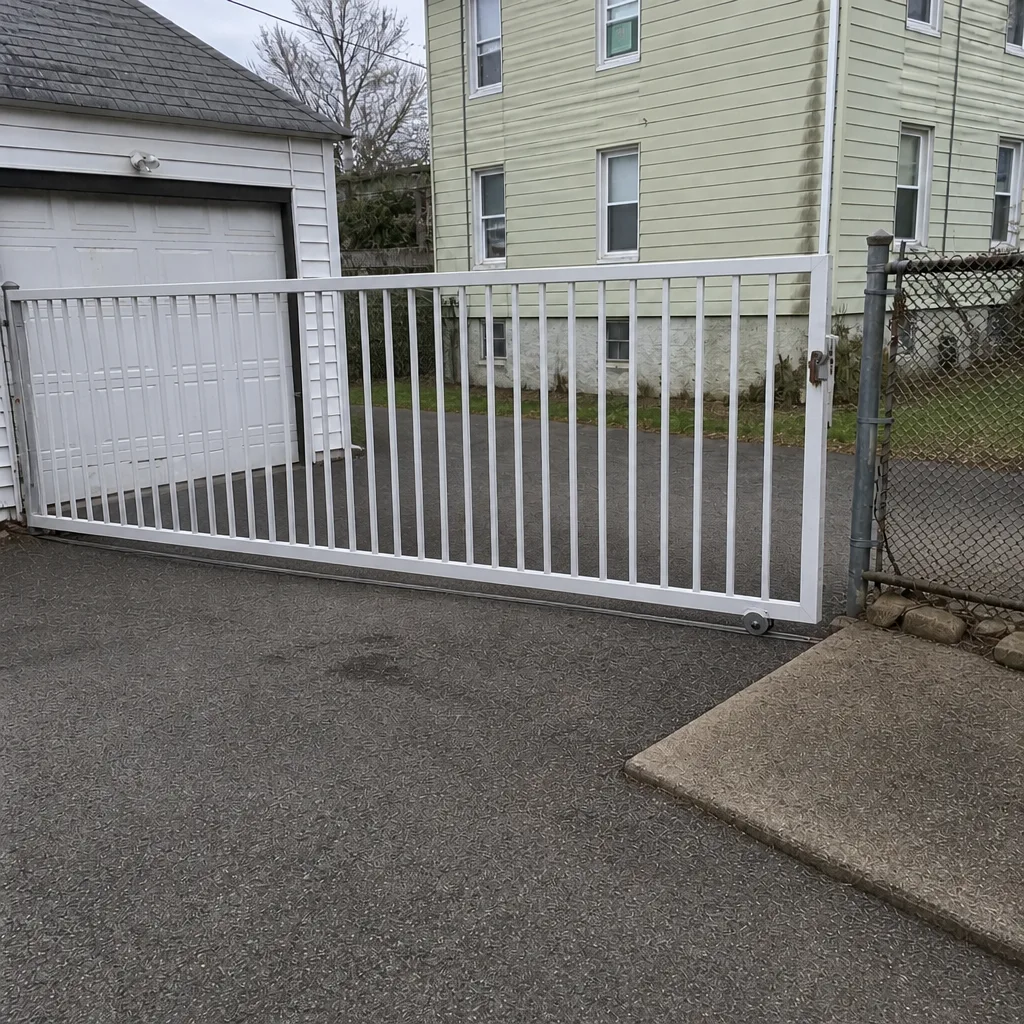 After
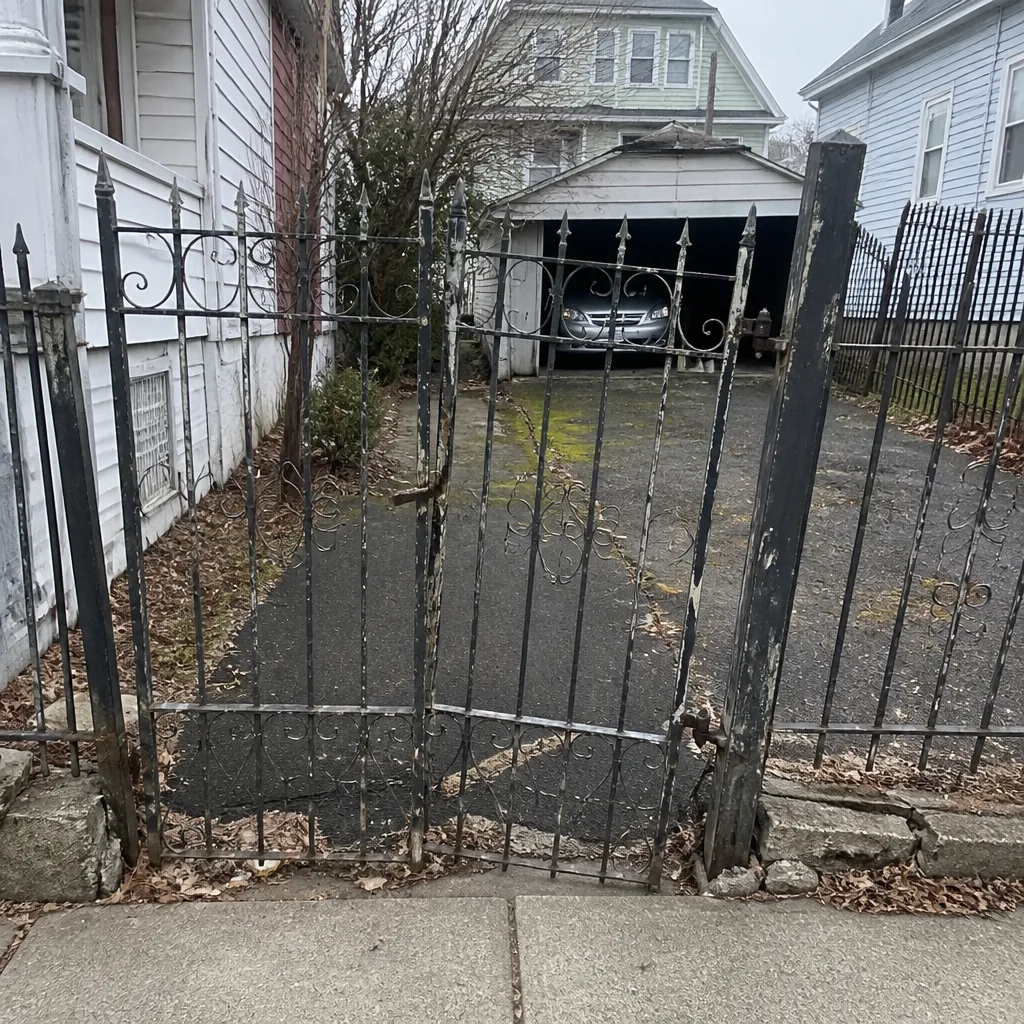 Before
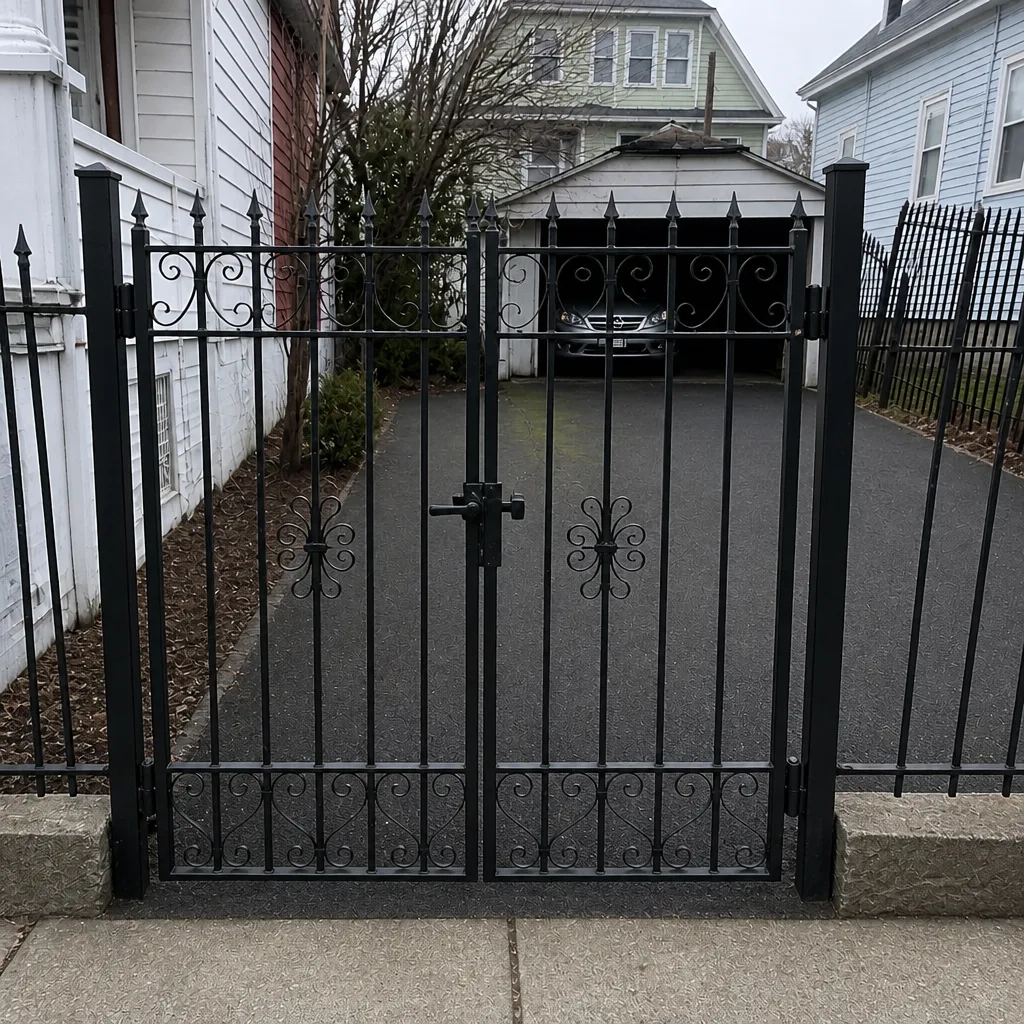 After
 Before
 After