
Last updated November 15, 2026
 Wrought iron
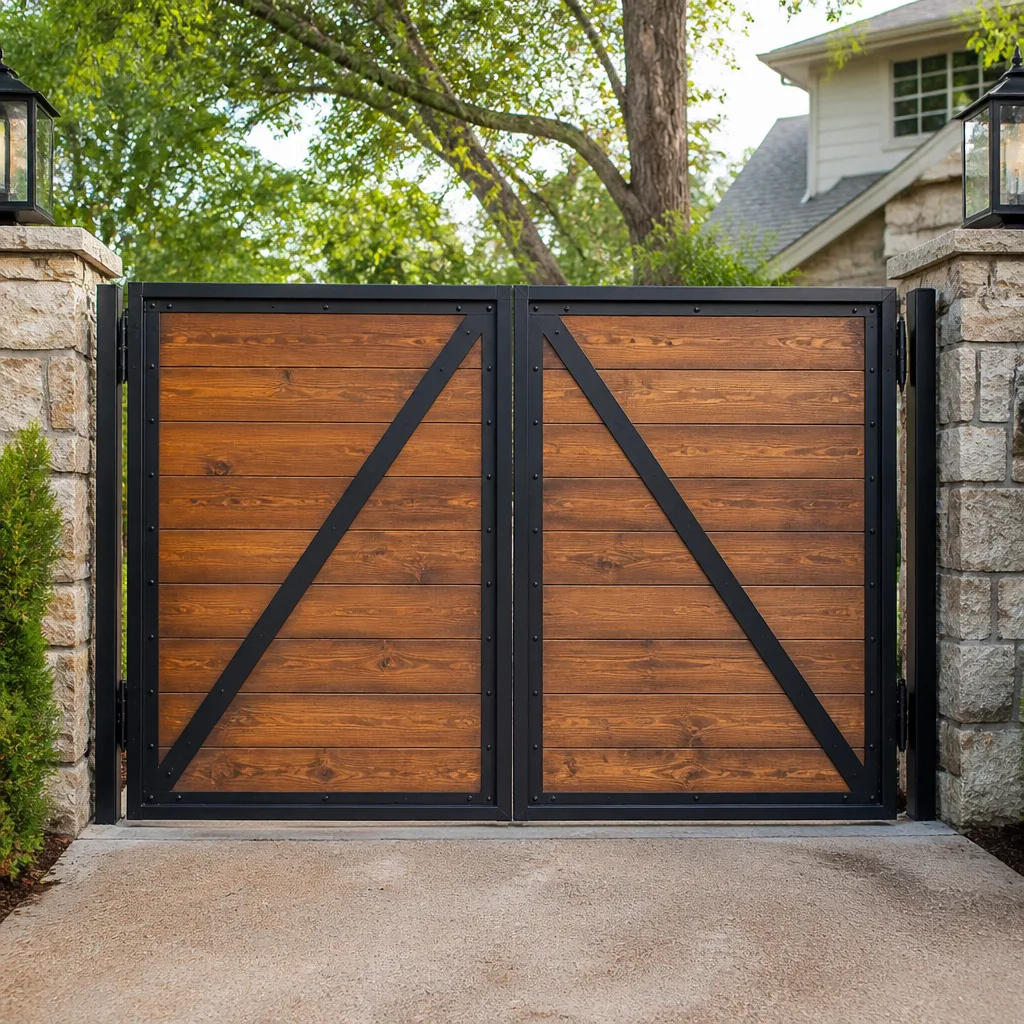 Wood & steel frame
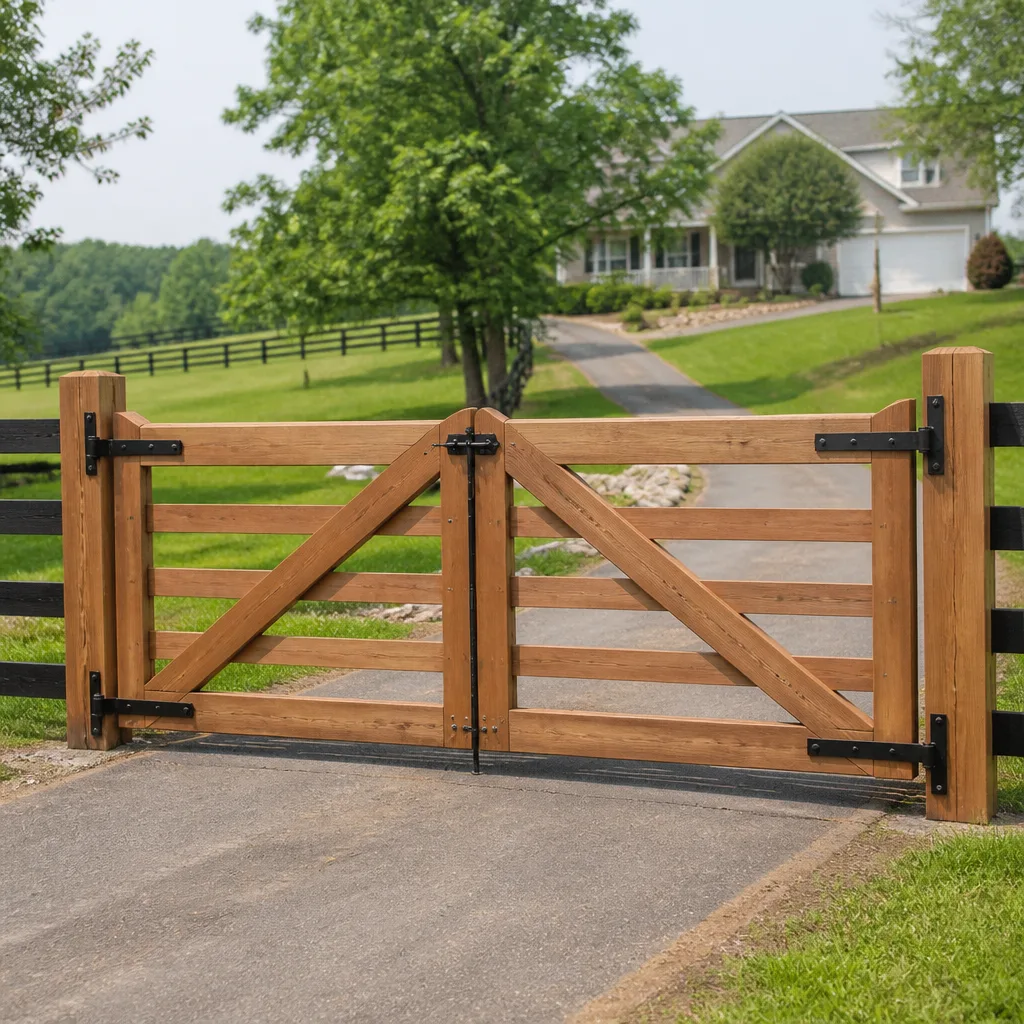 Farm & ranch
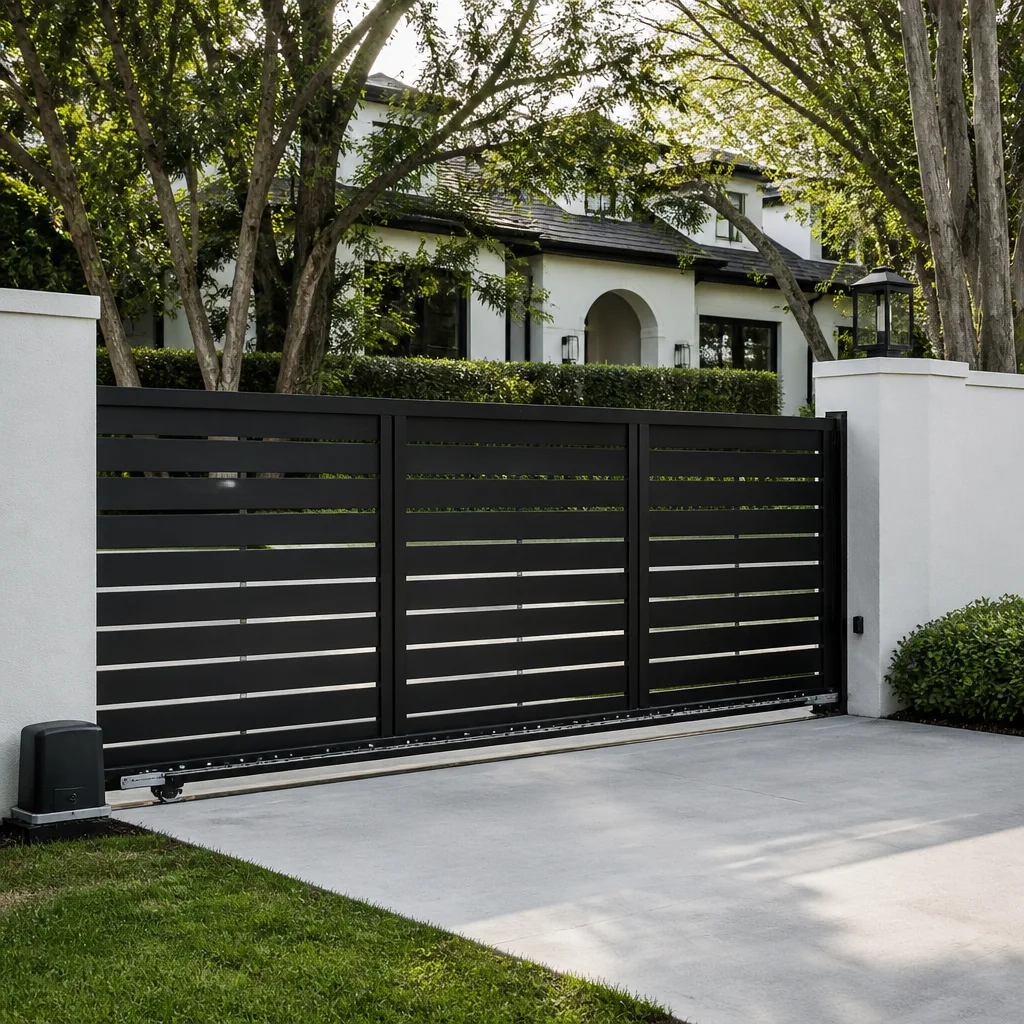 Sliding driveway gates
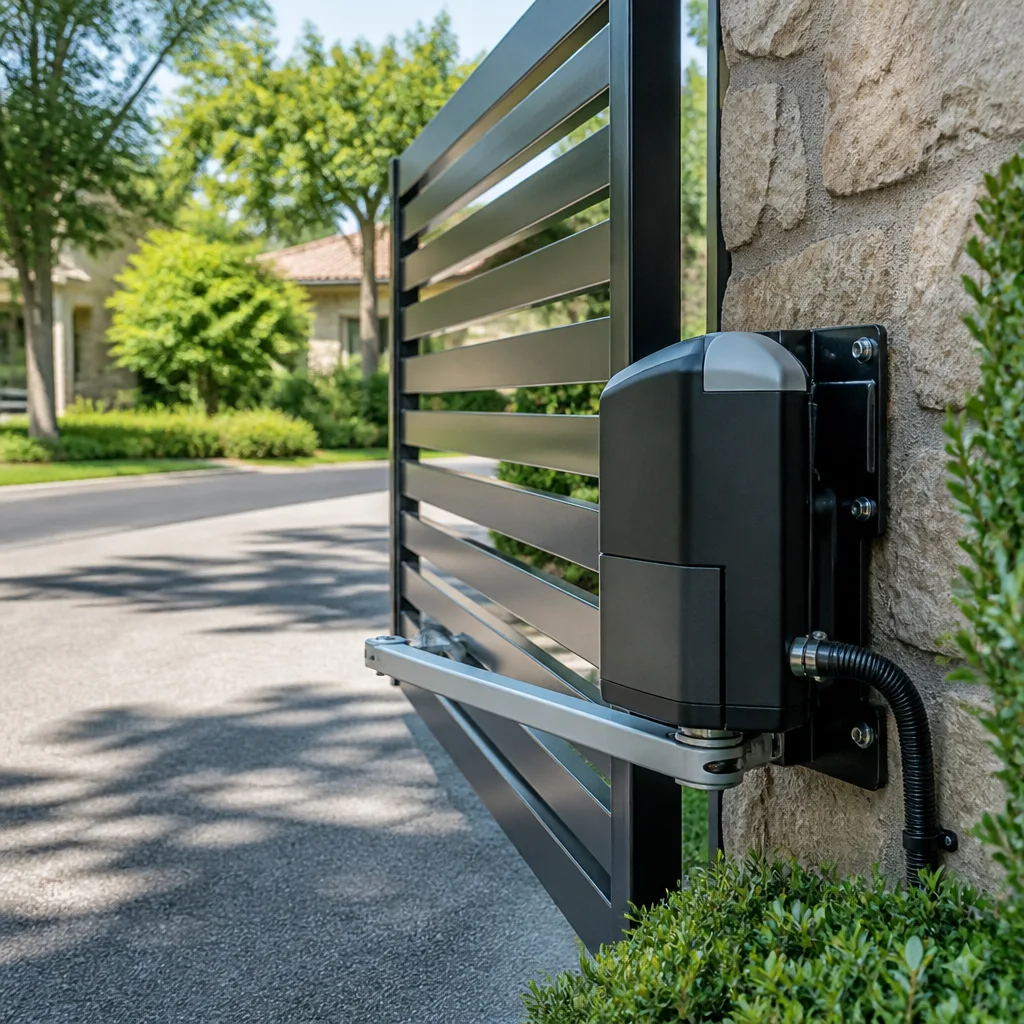 LiftMaster operators
Free on-site gate assessment - hinges, posts, and your LiftMaster or Nice gate operator checked before anything is quoted
The assessment is free and the quote is the invoice.
Get your free estimateGate Repair Maintenance Checklist for Paterson Homeowners
Here’s a common piece of advice you’ll find on almost every gate maintenance checklist online: spray WD-40 on your sliding gate’s rack-and-pinion drive to keep it running smooth. Do that and you’ll actually speed up wear on the nylon gear teeth, because a petroleum-based spray attracts grit and breaks down the grease the drive needs. The right product for that track is a dry or silicone-based lubricant. That’s the problem with generic checklists. They lump every gate into one category, and a manual swing gate needs a completely different set of checks than a LiftMaster or Viking sliding operator. This guide breaks maintenance down by gate type and drive system, so every step on the list actually applies to the hardware in front of you. We’ll cover inspection intervals that match Paterson‘s freeze-thaw swings and summer humidity, the operator tasks manufacturer manuals bury in footnotes, and the three maintenance skips that quietly void most warranties.
Styles & brands we work with
- Wrought iron
- Wood & steel frame
- Farm & ranch
- Sliding driveway gates
- LiftMaster operators
Quick Answer
A proper gate maintenance checklist in Paterson depends on your gate type. Manual swing gates need hinge, latch, and post checks every six months. Sliding gates with rack-and-pinion or chain drives need track cleaning, lubricant checks, and roller inspection quarterly. Automated operators, whether LiftMaster, FAAC, Viking, or Linear, need safety sensor tests and limit switch checks monthly, plus a full drive-system inspection twice a year. Most failures we see trace back to skipped safety tests or the wrong lubricant, not worn-out hardware.
Table of Contents
- Why Generic Gate Checklists Fail Paterson Homeowners
- Swing Gate Maintenance Checklist
- Sliding Gate Maintenance Checklist
- Barrier Arm and Access Control Systems
- Operator-Specific Maintenance Tasks
- How to Test Limits, Safety Loops, and Photo-Eyes
- Inspection Intervals for Paterson’s Climate
- Three Maintenance Skips That Void Operator Warranties
- Common Mistakes to Avoid
- When to Call a Professional
- Frequently Asked Questions
- The Bottom Line
Why Generic Gate Checklists Fail Paterson Homeowners
A swing gate and a sliding gate don’t share most of their failure points. A swing gate pivots on hinges and depends on post stability. A sliding gate rides on tracks and rollers and depends on alignment. When a checklist says “check hinges and track,” it’s giving you two different jobs in one line, and neither gets done properly.
The gap gets wider once an operator is involved. A Ghost Controls swing operator and a DoorKing slide operator aren’t the same machine with a different sticker. Each brand has its own known failure points, its own programming sequences, and its own parts quirks. We work on these systems specifically, and the differences matter: a control board swap on one brand takes minutes once you know the sequence, while the same job on another brand can stall for an hour if you’re guessing.
In our experience, the checklists that actually get used are the ones that match the hardware on the property. That means three separate documents:
- Manual swing gates: hinges, latches, posts, and frame welds.
- Manual and automated sliding gates: track, rollers, rack-and-pinion or chain drive, and the operator’s drive components.
- Barrier arms: the arm itself, the operator gearbox, loop detectors, and access hardware.
A gate is a heavy moving object with a motor attached or a person pushing it. The parts that fail first are the ones the manufacturer’s generic advice doesn’t mention. Everything below is written to fix that, section by section, for the gates actually installed across Paterson.
Swing Gate Maintenance Checklist
Swing gates fail at the hinges, the latch, and the posts. Get those three right and a manual swing gate will keep working for years with nothing more than a twice-yearly inspection. Here’s the full checklist:
- Wipe each hinge and spray it with a dry or silicone-based lubricant. Avoid heavy grease, which collects dirt. Open and close the gate slowly and listen for squeaks. A single grinding hinge usually means a worn bushing, and swapping it is a small job.
- Lift the gate off the latch side and feel for play. More than a small amount of vertical movement means a hinge is worn or the post has shifted. On a heavy gate, dig down and confirm the post footing is still solid. Gate posts need proper footing depth, and a post that has lifted or tilted will drag the whole gate out of alignment.
- Check every weld on the frame. Look for cracks at the corners and where the gate meets the hinge brackets. A hairline crack in a weld turns into a sagging gate within one or two seasons.
- Test the latch and any manual throw mechanism. The latch should catch cleanly without force. If you’re lifting the gate to close it, the post has settled or the hinge is loose.
- Check the ground clearances. A gate that scrapes the ground on one side and clears on the other is out of square. Don’t adjust the hinges until you’ve checked the post and footing.
Two of those steps, the hinge lift test and the weld inspection, catch most swing gate problems before they turn into a repair call. The rest are cheap insurance. Do the whole list twice a year in Paterson, once in spring after the last freeze and once in fall before the ground starts to move again.
Sliding Gate Maintenance Checklist
Sliding gates live or die by the track and the drive. Here’s the checklist that covers manual and automated slide gates:
- Clear the track of debris. Sweep or blow out the entire track channel. Leaves, grit, and, in Paterson, road salt drift from nearby streets pack into the track and force the gate to work harder. On an automated gate, that drag translates straight into strain on the motor.
- Inspect the rollers or wheels for flat spots. A wheel that’s worn flat will thump through its rotation and eventually crack. If the gate rocks or list to one side, the rollers need replacing before the track gets damaged.
- Lubricate the drive correctly. For rack-and-pinion, use a dry or silicone-based lubricant on the rack and keep it away from the gear teeth. For chain drives, apply a purpose-made chain lubricant rather than a spray-on general-purpose oil. Never use WD-40 as a regular drive lubricant, despite what generic lists say.
- Check gate alignment. Stand at one end and look down the full length of the gate. It should track straight and level. Drift to one side or a bow in the middle signals a track, roller, or post problem, and leaving it makes the operator work against the drag every time it opens.
- Test the manual release. Every automated slide operator has a manual bypass. With the motor off, you should be able to open the gate by hand. If it won’t move easily, the drive has a mechanical fault. That’s a professional job, not a lubricant issue.
- Look at the operator’s drive sprocket or pinion for wear. Worn teeth mean the gate will slip or stall, especially in cold weather.
A dedicated gate specialist runs these steps in about the same time it takes to sweep the track twice. The Lubricant step is where most homeowner checklists go wrong, and it’s the step that damages drive components fastest.
Barrier Arm and Access Control Systems
Barrier arms show up at apartment complexes, small parking facilities, and shared driveways around Paterson, and they fail more often than swing or slide gates because they cycle constantly. A residential gate repair check still applies, but the arm system needs its own list:
- Test the arm’s balance. With the operator off, manually move the arm. It should feel light and even through its travel. If it’s heavy on one side, the counterbalance spring is tired and the motor is doing work it shouldn’t.
- Inspect the safety loop and its detectors. In a barrier arm system, the loop detector tells the operator a vehicle is present. A loop with a bad connection will either fail to open for a car or fail to close because the loop thinks a car is still there.
- Check the arm itself for cracks or wobble at the driver. Arms are the part that takes hits, and a cracked arm is a safety problem.
- Clean and inspect any access control hardware. Keypads, card readers, and intercom wiring take a beating from weather and use. Loose connections here cause “the arm won’t open” calls more often than the operator itself.
- Verify photo-eyes at the arm. Even barrier arms have safety sensors, usually mounted at the posts, and a misaligned eye will stop the close cycle.
If you manage a property and the arm is slow, stalling, or failing to close, it’s worth getting the whole system looked at before it strands residents at the exit. This kind of system benefits from a specialist who already knows the operator brand, whether that’s DoorKing, Linear, or another unit, rather than a general repair company learning the equipment on your dime.
Operator-Specific Maintenance Tasks
Operator makers write the maintenance section for lawyers, not owners. The real tasks are buried in footnotes and appendices. Here’s what each common operator brand actually needs, tied to its known failure points:
- Viking swing operators: the manual’s footnote on manually operating the gate before each season is the one that matters. A Viking arm that’s been forced by hand without releasing the operator correctly can strip its drive. Check the manual release, test the force sensitivity setting, and confirm the arm moves freely by hand.
- LiftMaster operators: the accessory and safety sensor wiring is the hidden trouble spot. Push-to-open and push-to-close settings are easy to leave wrong after a reset. Confirm the limit settings and test the entrapment protection before anything else in the manual.
- FAAC operators: the hydraulic and mechanical units need specific attention to their limit switches, and the encoder or limit setup must be re-taught after any power interruption or board reset. A FAAC gate that opens a foot too far or stops short usually means its limits need re-teaching, not replacement.
- Ghost Controls: known for its ease of installation, which means many homeowners do get the electrical side wrong. Check that the low-voltage wiring runs are solid and the battery is charging properly.
- Linear and DoorKing: these show up on slide operators and barrier arms, and both need regular battery or control-board checks. Ageing backup batteries are the single most common cause of “the gate opens once and then it’s dead.”
We work on these systems specifically, and the brand-specific knowledge means a diagnosis doesn’t come down to trial and error. Most gate problems trace back to a specific component on a specific brand, and if the operator needs a board swap or a full replacement, that’s a clean call rather than a guess. Electric and automated repair is the core of our work, so it’s electric gate repair that handles control boards, loop detectors, intercom wiring, and motor replacement.
How to Test Limits, Safety Loops, and Photo-Eyes
You don’t need special tools for any of the safety tests below. You need a clear gate, a few minutes, and the discipline to actually do them. These are the tests to run monthly on any automated gate in Paterson.
- Photo-eye alignment test. With the gate closed, stand between the two eyes. Cover one eye with your hand and press open. The gate should start to close if it was open and stop if it was closing. Better yet, walk through the beam while the gate is closing and confirm it reverses. If you can’t trigger it, the eyes are misaligned or wired wrong. Realign, don’t just adjust the sensitivity on the board.
- Safety loop test. If your gate uses an in-ground or overhead loop, test by driving a metal object (the car you normally drive) over the loop and confirming the gate won’t close on it. A loop that’s dead or tuned wrong stops the gate closing entirely or, worse, lets it close on a vehicle.
- Limit switch test. Open the gate fully. Does it stop in the same place each time? If it opens slightly too far, stops short, or has to re-try, the limit is drifting. On swing gates, watch it come back closed and stop cleanly without hitting the latch side. Re-teaching limits is a programming task, brand-specific, and should be done by someone who knows the sequence for your operator.
- Force sensitivity test. Place a solid object in the gate’s path, not a person or a pet, and let the gate close on it. It should reverse or stop immediately. If it keeps pushing, the force setting is too high and needs adjusting. This is the safety item that actually prevents injury, and it’s also the one that voids most operator warranties when it’s out of spec.
If any test fails, stop and get it fixed. A gate that doesn’t reverse or doesn’t detect a vehicle is a hazard, and a gate operator is a motorized machine with enough force to hurt someone. That’s also true of the electrical side. Wiring, control boards, and power runs should be handled by someone trained for it, and we recommend calling a professional rather than opening a control panel yourself. If your gate needs help, a quick Gate Repair Paterson call is faster than guessing.
Inspection Intervals for Paterson’s Climate
Paterson sits in a climate that works gates hard. Freeze-thaw cycles move the ground and shift gate posts. Road salt drift from winter street traffic settles on tracks and hinges and eats through metal. Summer humidity encourages rust and loosens swell-in wood components on older gates. Your inspection intervals should account for all three.
Here’s a schedule that actually reflects what happens to gates here:
- Monthly: safety loop, photo-eye, and force-reversal tests on any automated gate. These protect people and keep the operator warranty intact. Ten minutes, every month, no exceptions.
- Every spring (after the last freeze): the full swing, sliding, or barrier arm checklist. The ground has moved, posts may have shifted, and the track or hinge hardware has had a hard winter. This is the inspection that catches freeze-thaw damage.
- Every fall (before the first freeze): the full checklist again, plus a clean and re-lubricate of every drive component. Get the track clean before salt season, and verify the manual release is working before you depend on it.
- After a major storm: a quick visual check of the gate, posts, track, and safety sensors. Don’t wait for the next scheduled pass.
Humidity also does work sliders don’t always show. Frame joints and fasteners loosen, and a gate that was level in March can bind in July. If your gate has been in place through several Paterson winters, get a specialist eye on the footing and alignment once a year, even if nothing seems wrong. Catching a shifting post early costs a fraction of what a full re-set does later. For the operator brand, our familiarity with Linear, Viking, DoorKing, and the rest means the inspection matches the actual equipment.
Three Maintenance Skips That Void Operator Warranties
Most gate operator warranties have maintenance conditions. Skip them and you may find out about the warranty the day you need it. Here are the three that catch homeowners most often:
- Skipping the safety tests. The force-reversal test and the photo-eye test aren’t optional. Operators are warranted to function with working entrapment protection, and an operator that’s been run with a dead eye for a season isn’t one the manufacturer will cover. Test them monthly.
- Ignoring the manual’s lubrication and cleaning requirements. The manual is specific about what to clean and what not to lubricate. On rack-and-pinion drives, that means no thick grease and no WD-40 on the rack. On slider chain drives, that means chain-specific lubricant. Using the wrong product is the easiest way to lose a warranty claim.
- Running the gate on a failing backup battery or a corroded board. Battery backup and control-board health are maintenance items. A dead battery may just leave the gate stuck open on a power outage, but a corroded control board means the operator has been run out of spec. Check your operator’s battery and board every spring.
The pattern underneath all three: keep a simple log. Write down the date you test the safety sensors, the date you clean and lubricate the drive, and the date you inspect the battery. If a warranty claim ever comes up, that log is your evidence. It also helps whoever services the gate years from now start with a real history instead of a guess.
Common Mistakes to Avoid
- Using WD-40 or heavy grease on the rack-and-pinion drive. This is the mistake that gets repeated on dozens of generic checklists, and it causes fast wear on the gear teeth. Stick to dry or silicone-based lubricants on the track and rack.
- Adjusting hinges when the post is the problem. A gate that drags or scrapes is usually a grounding or post issue, not a hinge issue. In Paterson’s freeze-thaw ground, a post can shift an inch or more and drag the whole gate with it.
- Raising the operator’s force sensitivity to fix a slow or sticky gate. That fixes the symptom for a season and masks the real drag. It also removes your safety margin. Fix the drag at the track or hinge instead.
- Ignoring the manual release. If your operator has an emergency bypass, test it twice a year. A bypass that won’t open is useless when the power drops.
- Letting road salt sit on the track and hinges all winter. Salt drift from nearby roads settles in and starts corrosion. Sweep and wipe down the track after storms rather than once a season.
- Calling a general handyman for an electric gate problem. Most general services don’t handle operator boards, loop detectors, or intercom wiring, and a wrong diagnosis on an electric gate costs more than the call you saved. Gates are all we do, and that focus is where the value is.
When to Call a Professional
Some gate problems are maintenance. Some are repairs, and those need a trained technician. Call a professional when the gate has a mechanical fault you can’t trace, when an operator board shows corrosion or a fault code you don’t recognize, when the safety sensors won’t stay aligned, when the limit switches drift, or when the arm or gate won’t move by hand during the manual release test. Any electrical work on the operator’s power run, control panel, or loop wiring should also stay with a technician rather than a homeowner, because the equipment carries real risk of shock. If you’ve been through a season of Paterson weather and something changed, it’s worth a professional look. Gate Repair Paterson offers free estimates in Paterson. Call (833) 946-4320. We answer 24/7. Fast dispatch from 7am to 7pm, Sunday through Friday. Our technicians have up to 13 years of experience, and the price is set per job by the written estimate, quoted and agreed before any work starts.
Frequently Asked Questions
Test the safety sensors and force reversal monthly, run the full checklist in spring and fall, and do a quick visual pass after any major storm. Paterson’s freeze-thaw cycles and road salt drift make spring and fall inspections more important than a single annual one.
No. A petroleum-based spray attracts grit and breaks down the grease the drive needs, which speeds wear on nylon gear teeth. Use a dry or silicone-based lubricant on the rack and keep it off the gear teeth, or a chain-specific lubricant on chain-driven gates.
Test the manual release and force settings, confirm the limit positions, and check the entrapment protection. On LiftMaster units the safety sensor wiring and push-to-open settings are the common traps, while on Viking arms the manual release and force sensitivity setting are where failures start.
Drive a metal object over the loop while the gate is closing and confirm the gate reverses or stops. A loop that fails this test is either dead or tuned wrong, and it should be checked by a technician before the gate is closed unattended.
Skipping the safety tests, using the wrong lubricant on the drive, and running the operator on a failing battery or corroded board are the three biggest warranty risks. Keep a log of every maintenance task and test date.
Most general repair companies don’t handle operator boards, loop detectors, intercom wiring, or motor replacement, and a wrong diagnosis on an electric gate costs more than the call you saved. A specialist who knows the brand does it faster and cleaner. Call (833) 946-4320 for an exact quote, and estimates are free.
The Bottom Line
Generic gate maintenance checklists fail because a manual swing gate and an automated slider fail in completely different ways. Swing gate maintenance lives at the hinges, latch, and posts. Sliding gate maintenance lives at the track, rollers, and drive. Operator maintenance lives in monthly safety tests and brand-specific quirks. And on every automated gate, the wrong lubricant, the wrong forced setting, or a dead safety loop is the fastest way to an expensive repair. Match your checklist to your gate type, follow inspection intervals that reflect Paterson’s climate, and write down what you test and when. If a fault turns up that you can’t trace, get it looked at. Gate Repair Paterson handles repair, electric gate repair, and installation as its three services, so a gate that’s failing can be fixed or replaced under one call rather than two.
Call (833) 946-4320 for a free estimate on your gate. We answer 24/7. Fast dispatch from 7am to 7pm, Sunday through Friday, and the price is quoted and agreed before any work starts.
Written by the team at Gate Repair Paterson.
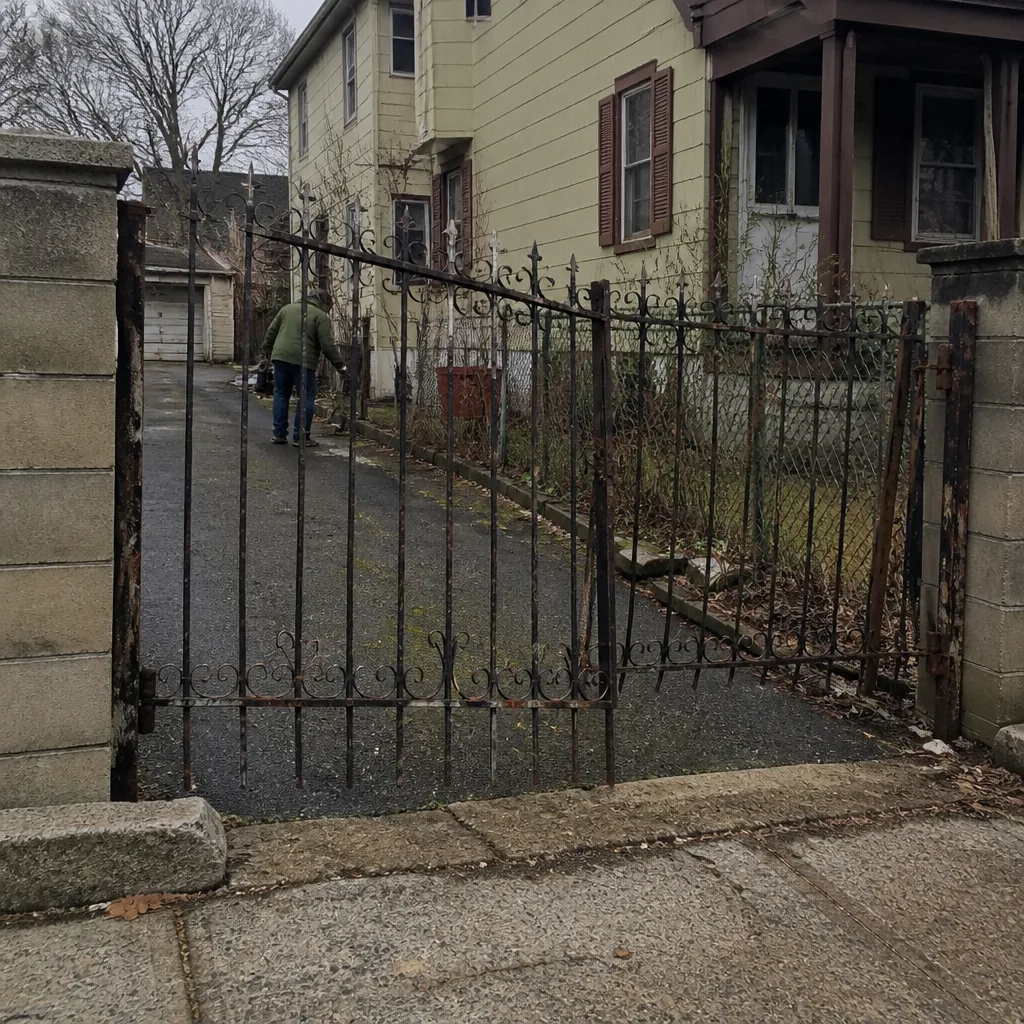
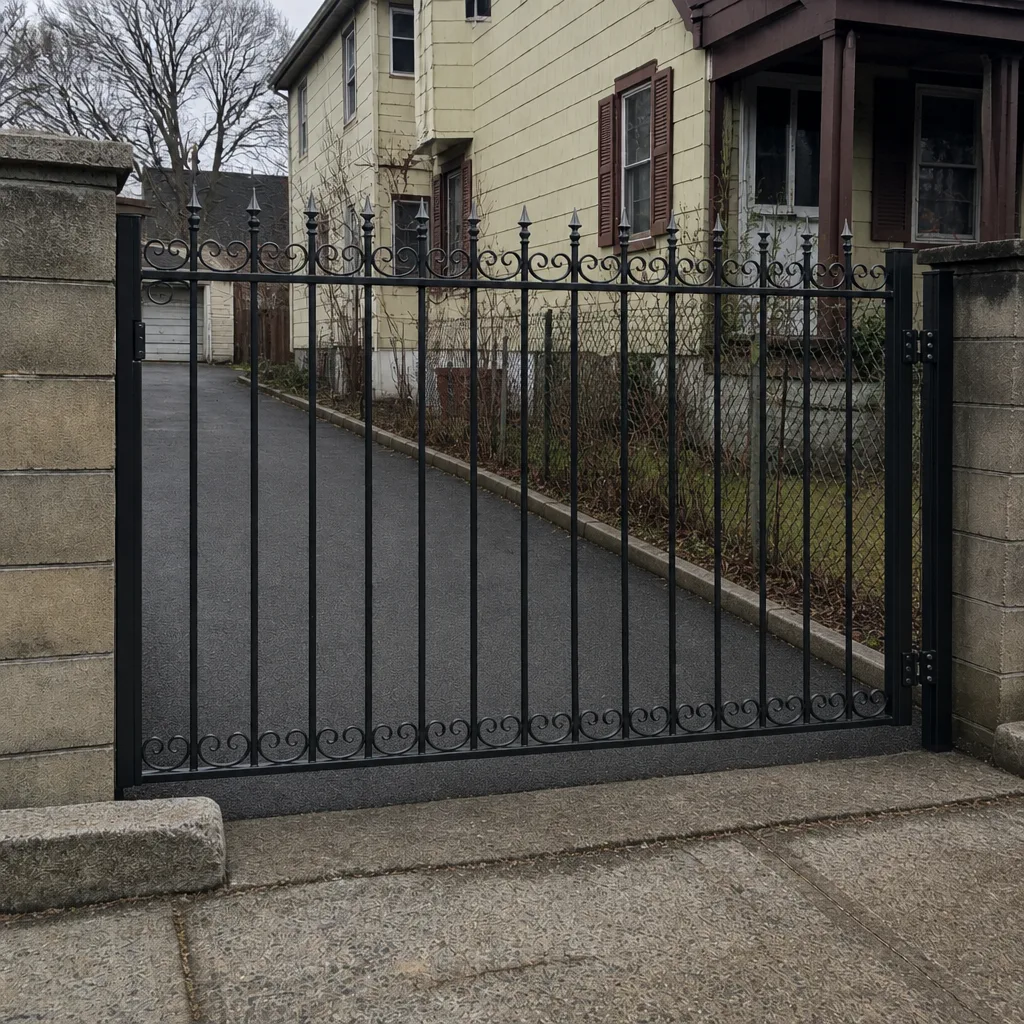
See the difference
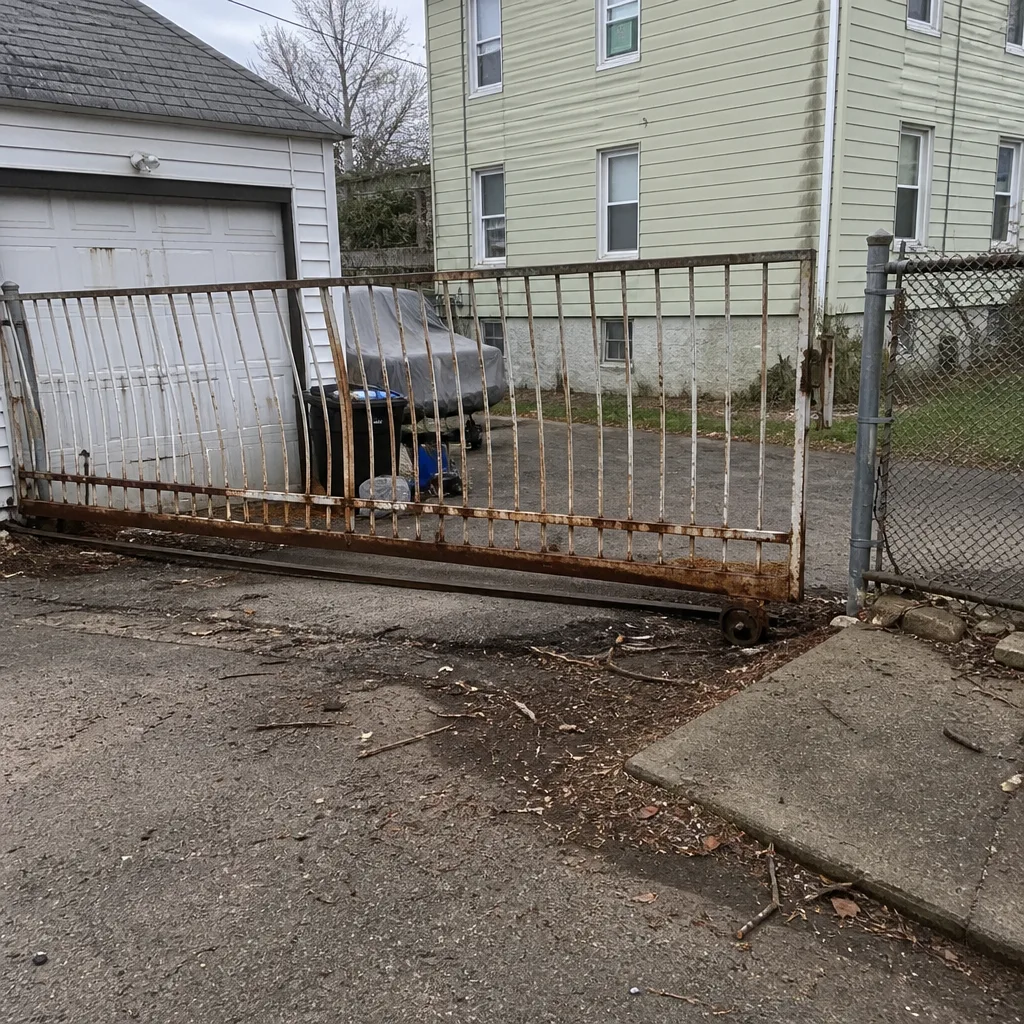 Before
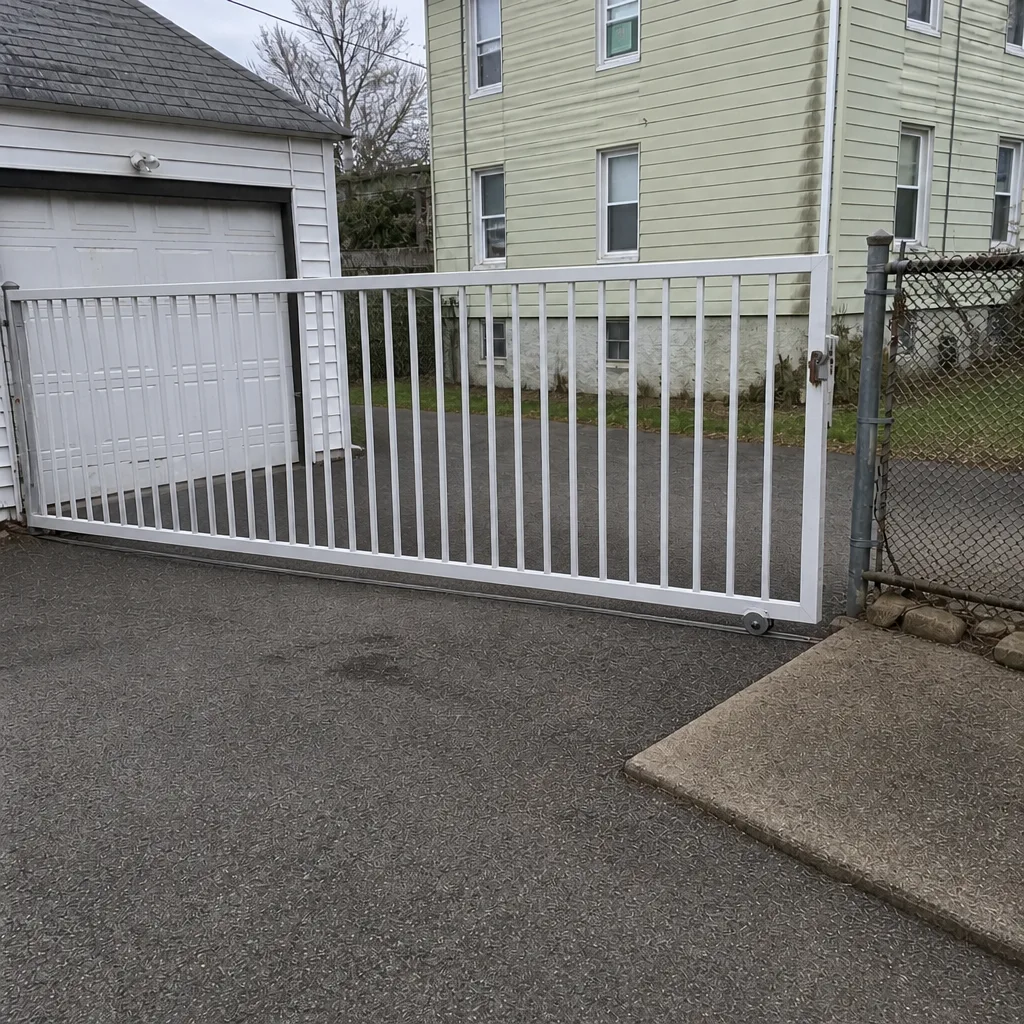 After
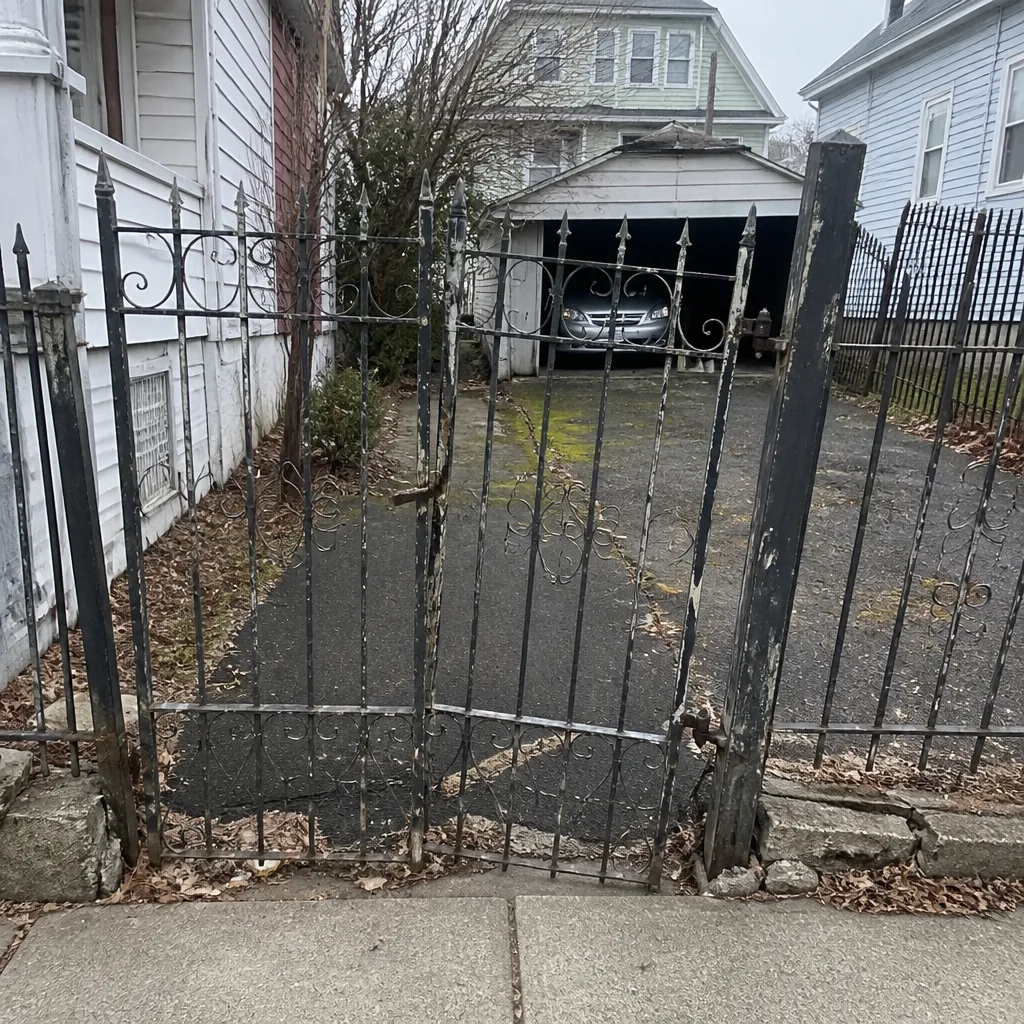 Before
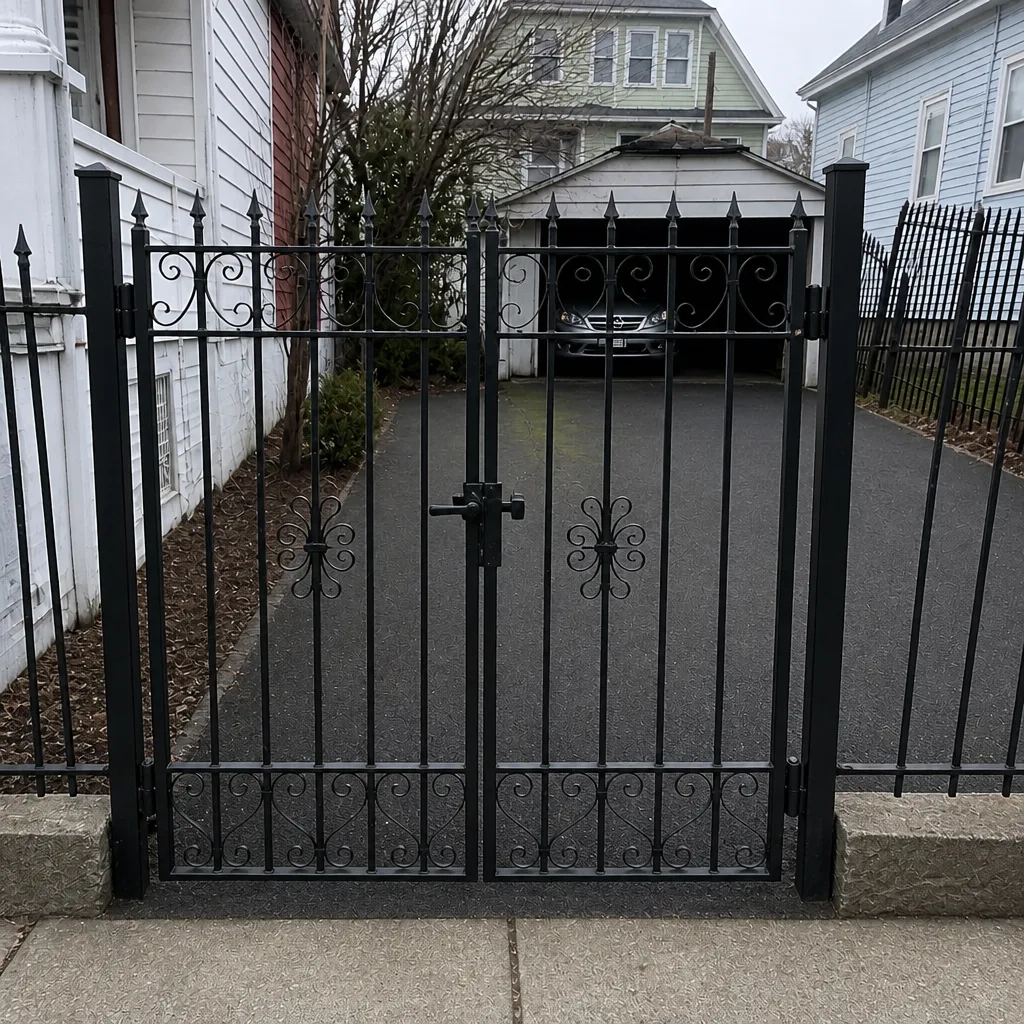 After
 Before
 After